|
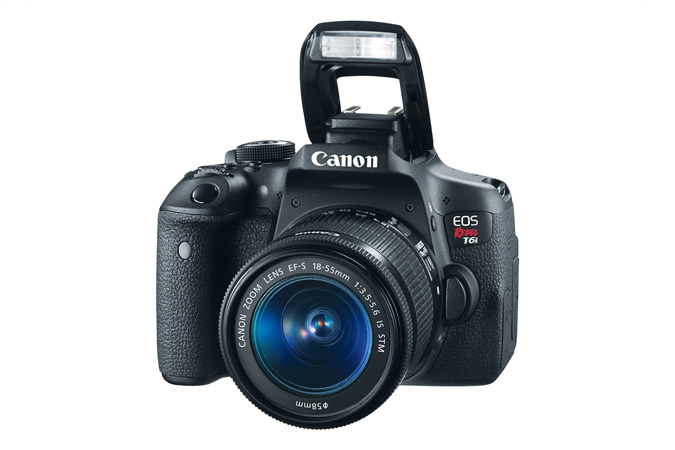
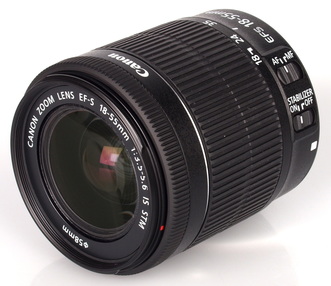
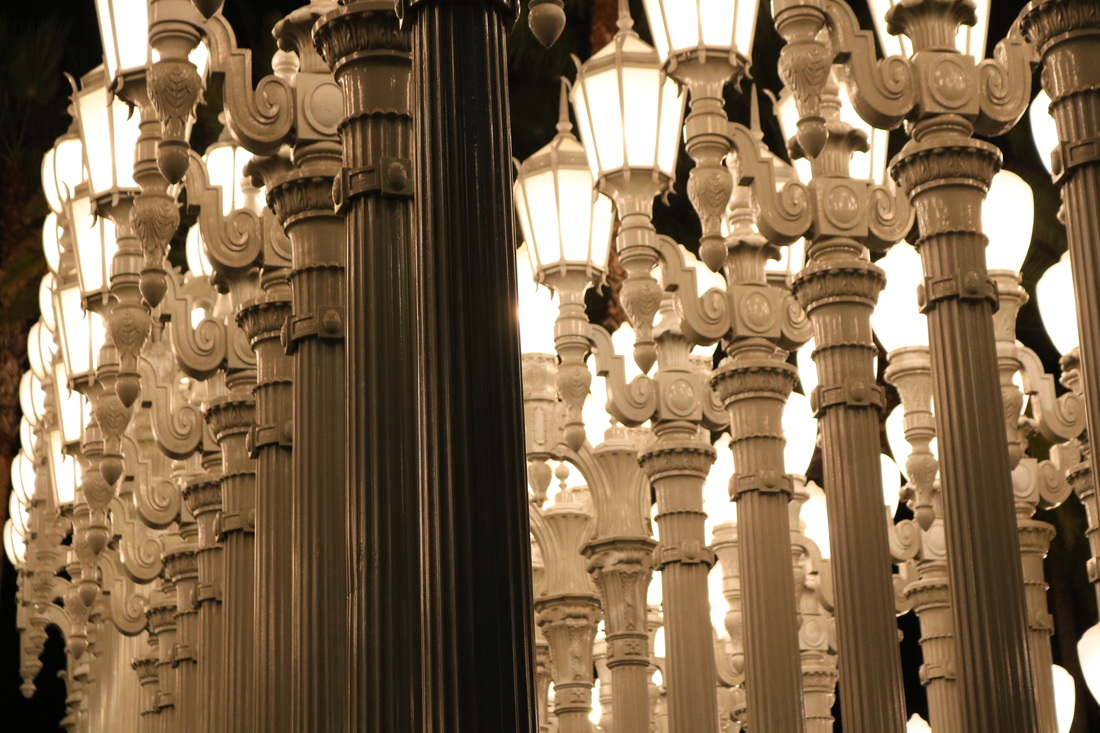
When I first started my blog, I took 100% of my pictures on my iPhone 6. It worked great when the lighting outside was perfect, for sunset shots, and quick snaps when I was on the go. But, as I started focusing my energy into building my Instagram and blog, I realized that my iPhone simply wasn’t good enough for the quality images I was trying to create and capture. I did quite a bit of research before I decided to splurge and purchase my first digital single-lens reflex camera (DSLR, as it’s commonly known). A DSLR is a step up from a regular point and shoot digital camera, and in my experience so far, it is 100% worth the money if you are passionate about photography. Photography and capturing the magic around me has become my favorite hobby, and the great thing about it was that this was almost a ONE TIME purchase (well, unless you want to keep buying new lenses and gadgets), compared to a hobby that you need to continually fund. Great blog posts to read from others:One of the questions I get asked frequently is what type of camera and lenses I use. I wanted to share with my readers the details of the camera I own and which lens I use for which type of shot in a short, sweet, and to-the-point post. You probably know by now that I love diving deep into the details of things, but I want this to be an easy-to-read guide for anyone interested in purchasing their first non-point and shoot camera. When I was finally ready to pull the plug and purchase my first DSLR, I was living in Hollywood at the time. I looked up camera stores nearby and Simon’s Camera had the best Yelp reviews by far. I stopped by one Saturday afternoon and was happy to find parking right out front of the store. The store attendees were incredibly helpful and answered my (many) questions about the pieces equipment I was about to splurge on. They are in no way paying me or sponsoring me to say this, but I would definitely recommend them...especially for photography newbies like myself! Simon’s Camera in Hollywood Camera Body: Canon EOS Rebel T6i Digital SLR with EF-S 18-55mm IS STM Lens - Wi-Fi Enabled Price: It is currently on Amazon for $749, almost $200 less than I paid for it in store. Features I love: 1) Obviously, the quality. This is my first DSLR and I am head over heels in love with it. It not only captures the beauty of almost exactly what you are seeing with your eye, but it does it with such clarity and crispness that you will wonder why you didn’t invest in this sooner. You can have the most incredible eye when it comes to photography, but you may feel limited if your equipment cannot capture images of high quality. Although it’s not the lightest camera on the market, it is worth the sometimes-hassle of bringing this around town. I like using the neck strap it came with because it feels safe around my neck and it’s easy to grab if I see something that catches my eye. 2) Built in wifi. You do not need an external wifi connection to connect the camera to your phone. Simply install the Canon Connect app for free in the App store and you can send images directly from your camera right to your phone post posting, sharing, texting, etc! This is probably my favorite feature. 3) Easy(ish) to learn how to use. I’m still learning new things every day (and yep...still using the Auto setting most of the time!) about photography, but this is a great starter camera. I teach myself from doing research on Google, YouTube, asking friends who have the same camera (Thank you Michael @10_oz_!) , etc. The information is out there if you're willing to find it! Pro tip: You can find earlier versions of this camera for a much cheaper price on Amazon, if this is outside of your budget. It probably won’t have built in wifi like the T6i has, but it will still produce higher quality shots than a phone or point and shoot digital camera. What Lens: Canon 18-55mm Wait...What does this even mean? According to ExpertPhotographer.com, "This refers to the focal length of your lens. 18mm is wide angle, and 55mm is more zoomed. When you zoom your lens in, you're zooming between 18mm and55mm. The 'mm' stands for millimeter, and this is the distance between your camera's sensor, and the point of convergence in the lens." Cost: Comes with the camera body! When to Use: This lens is all you need to get rollin'! My first outing with this camera was to photograph the Urban Lights at LACMA, and I was immediately amazed at the quality and clarity of the pictures it could capture...especially since I was so used to using my handy iPhone. I remembering saying out loud, "OH MY GOSH, THESE SHOTS ARE BEAUTIFUL!!!" #Amazed. You can zoom in or out depending on what you are trying to capture. Overall, this is a great lens to get started with, especially for these type of shots:
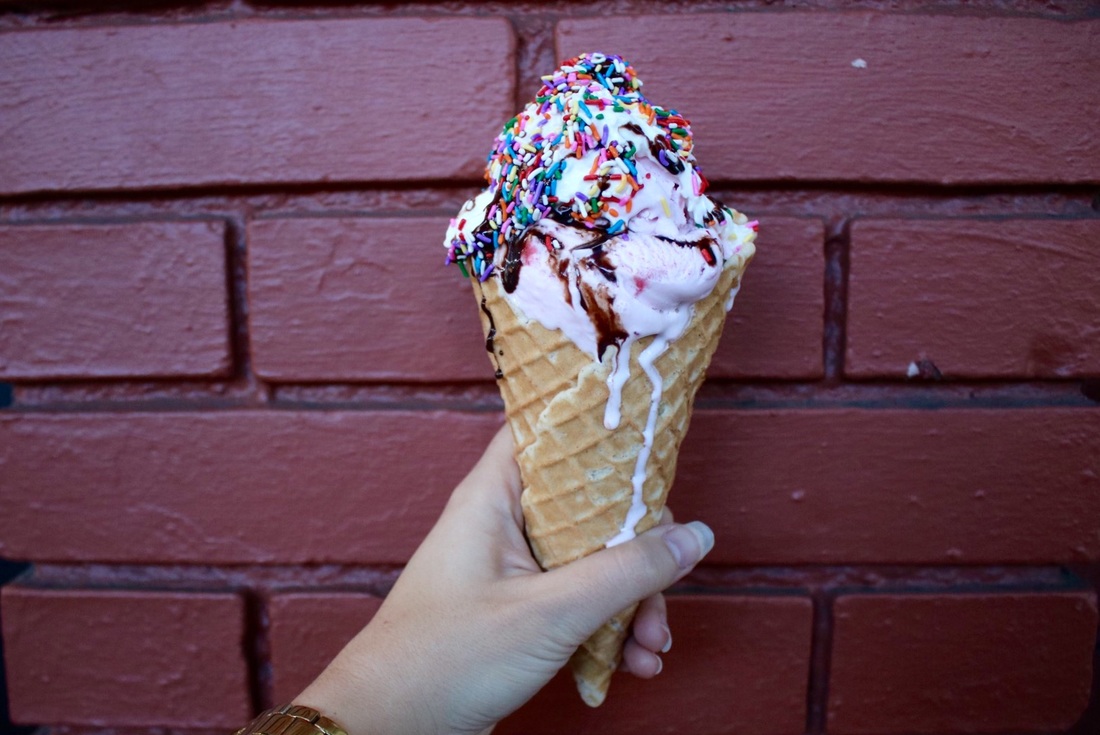
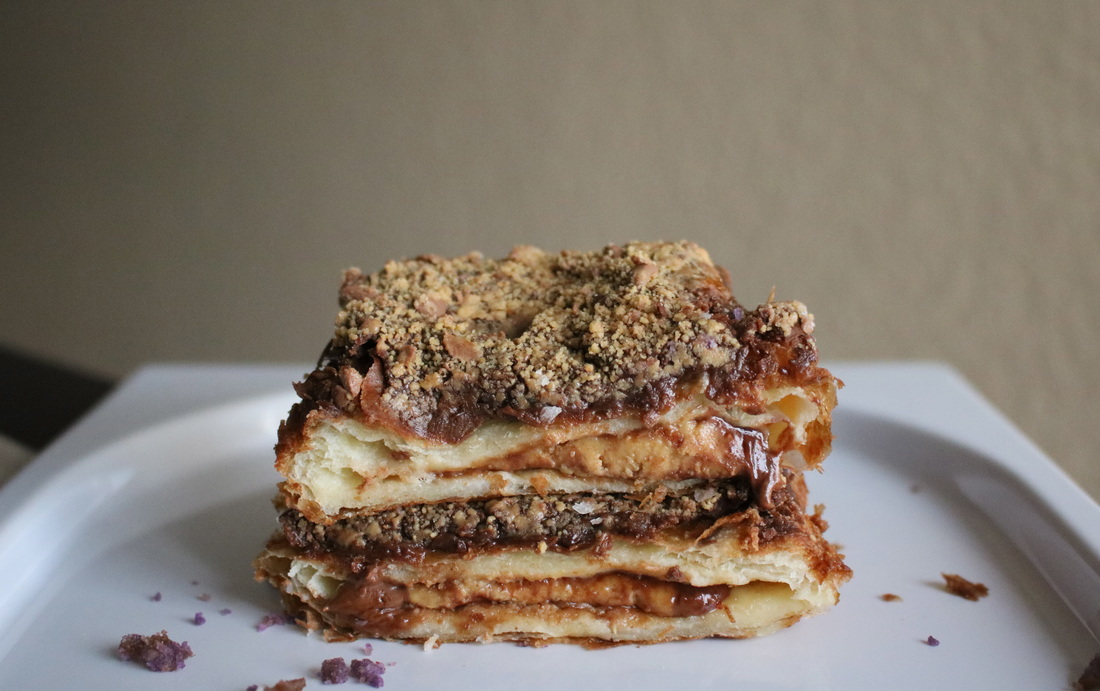
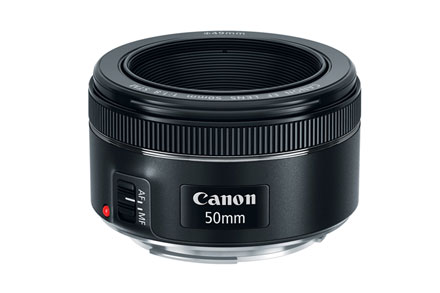
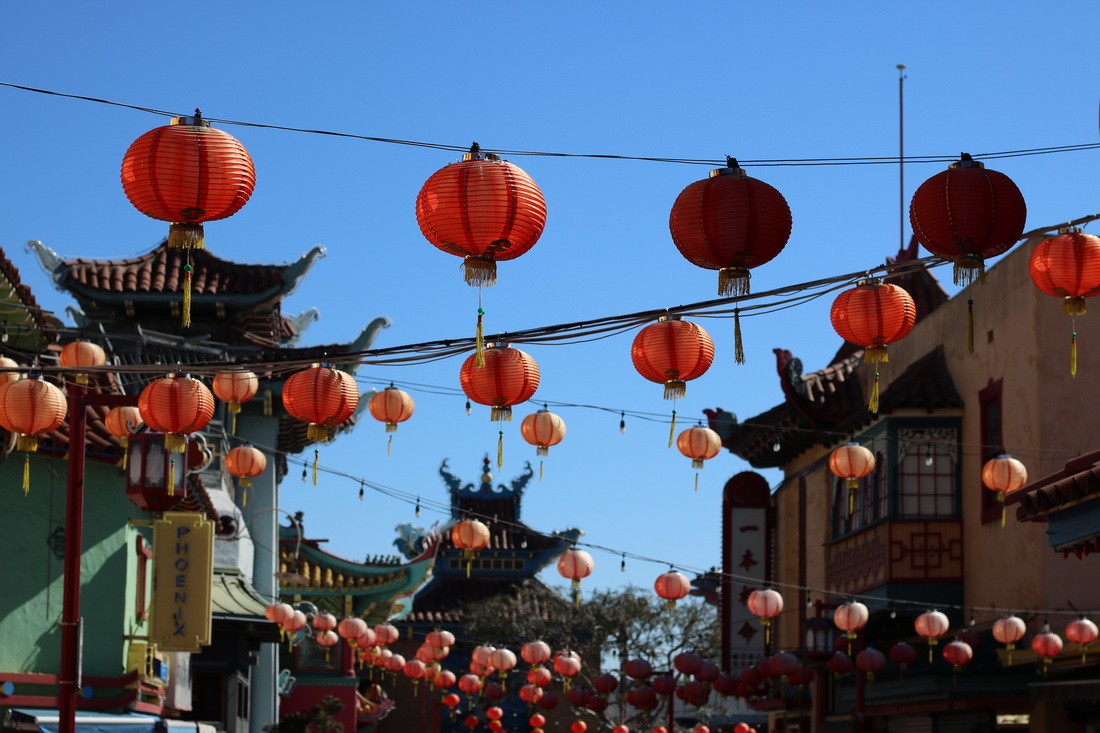
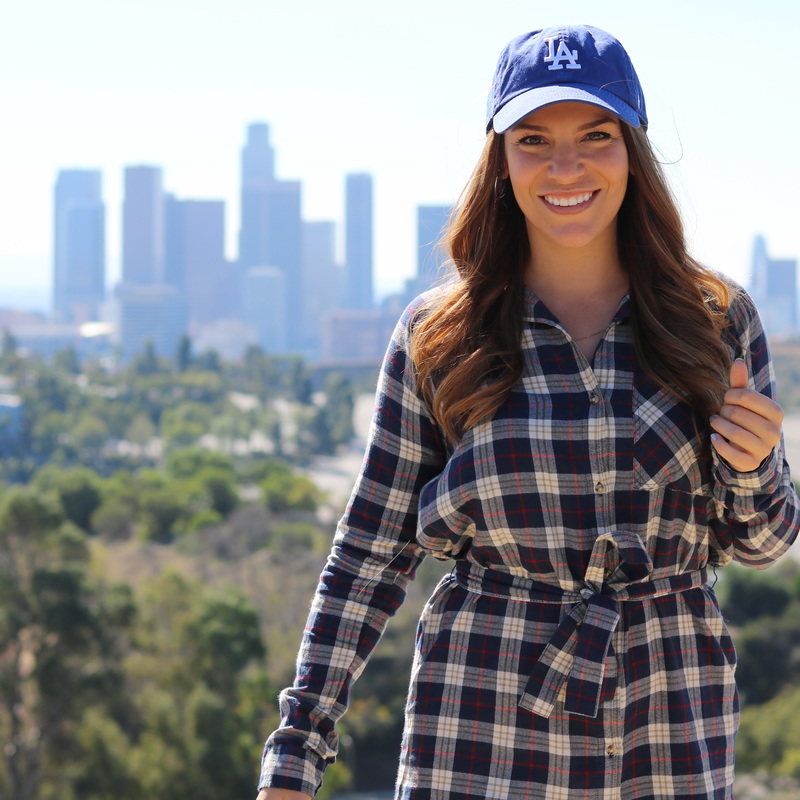
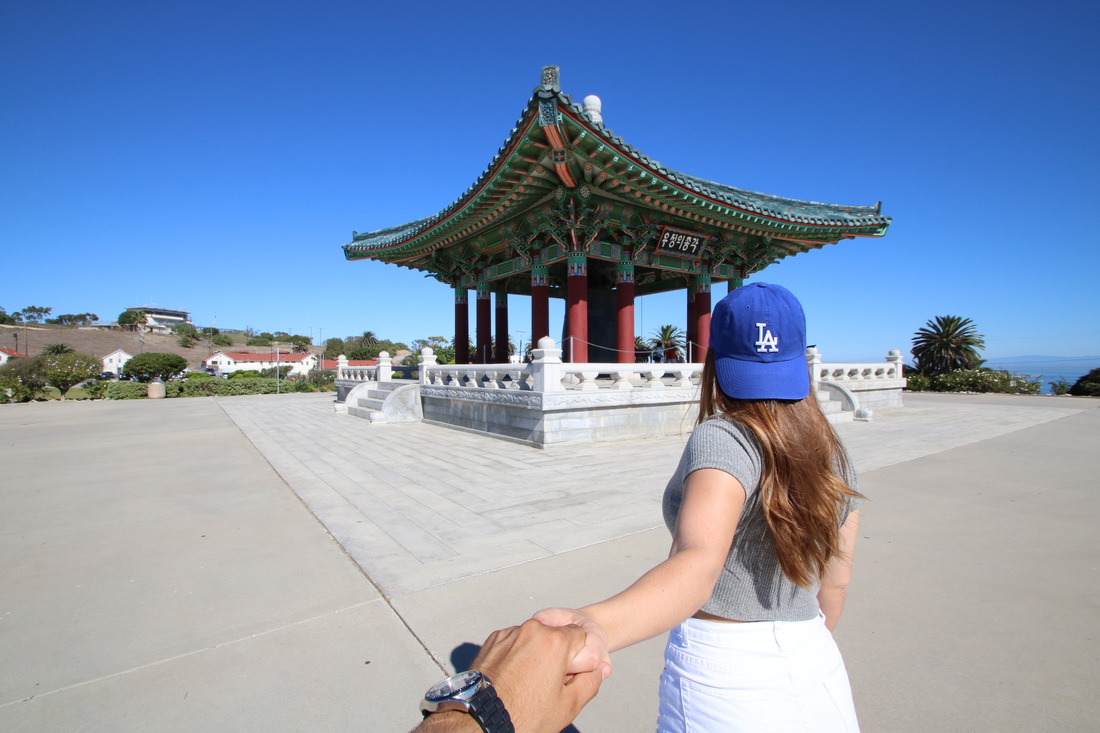
Examples of pictures taken with this lens: Cost: $125 on Amazon When to Use: This lens produces colorful and crisp images with incredible detail. This is my go-to lens for any outfit/fashion pictures that I want to create because of it's bokeh effect, or ability to focus on a person/item in pristine detail and blur everything else in the background. I also like this lens because it's smaller and much lighter than the other two lenses I own. The lens does not have the ability to zoom in and out, so the photographer will need to stand a pretty good distance away from the object they are trying to capture. It's great for every day/street photography or also to capture portraits, head shots, and much more. In particular, you will be able to use this lens for:
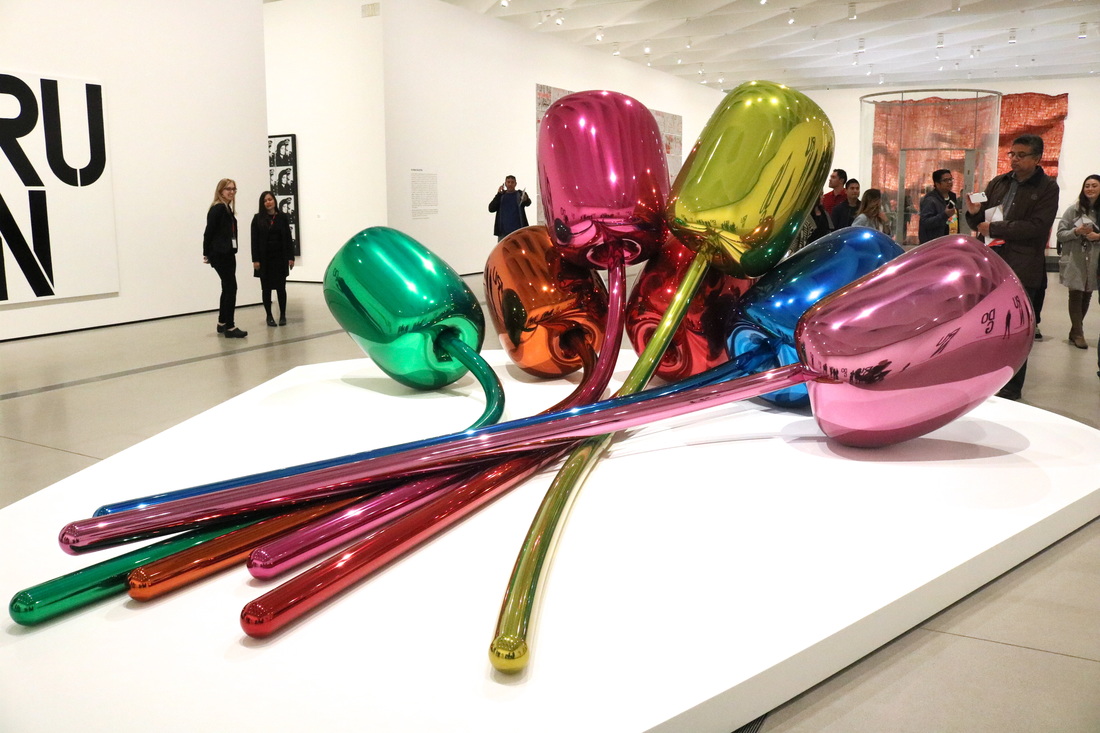
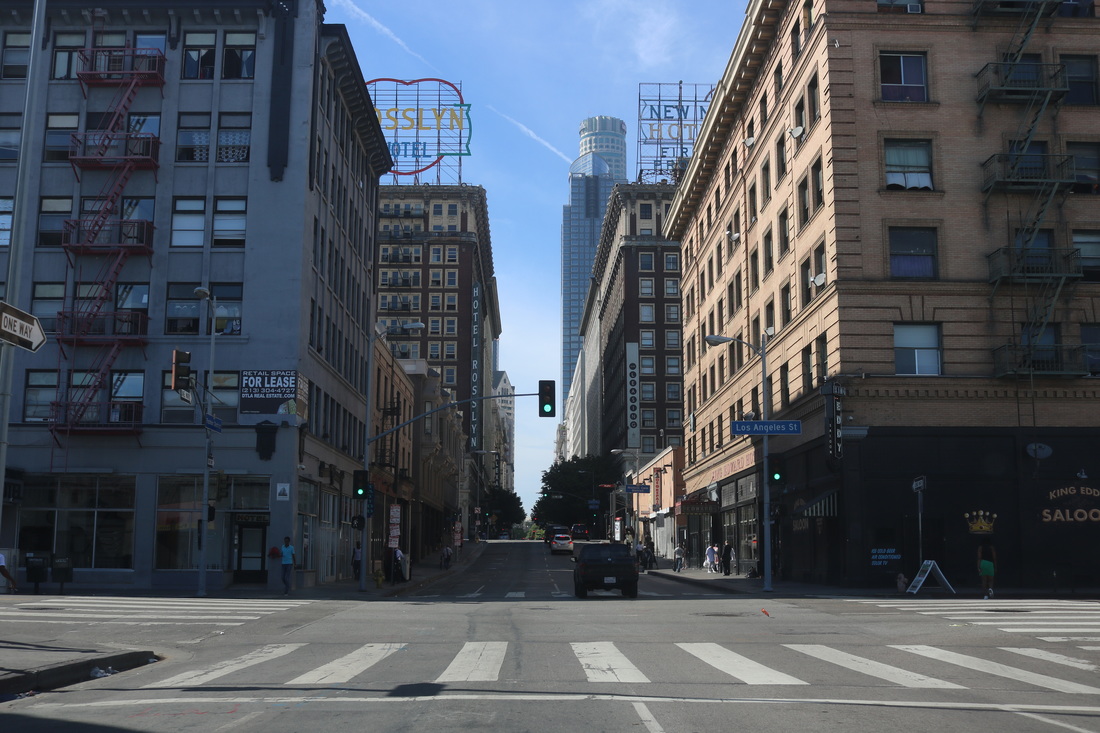
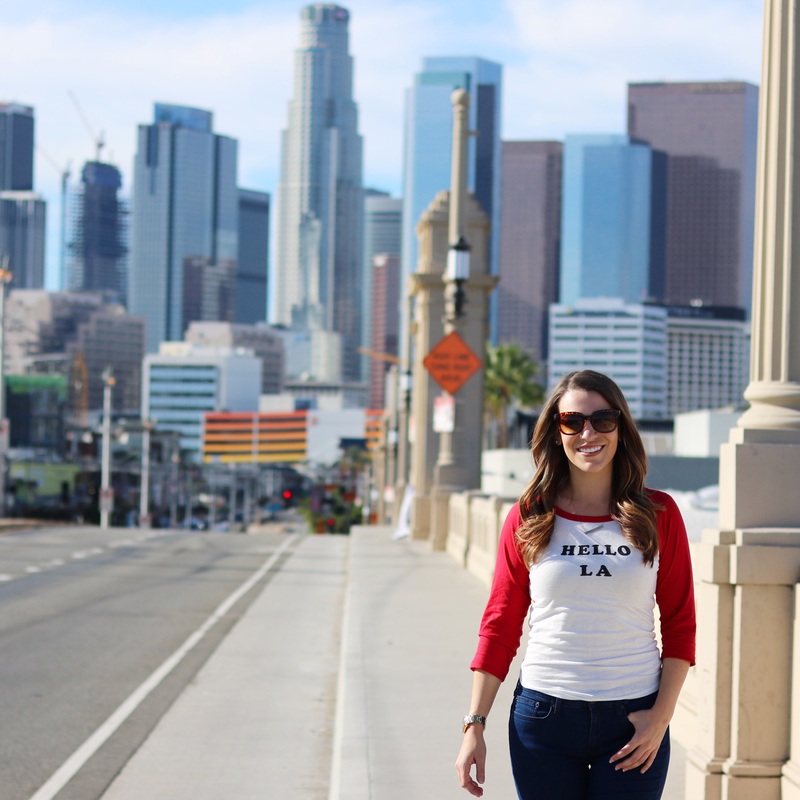
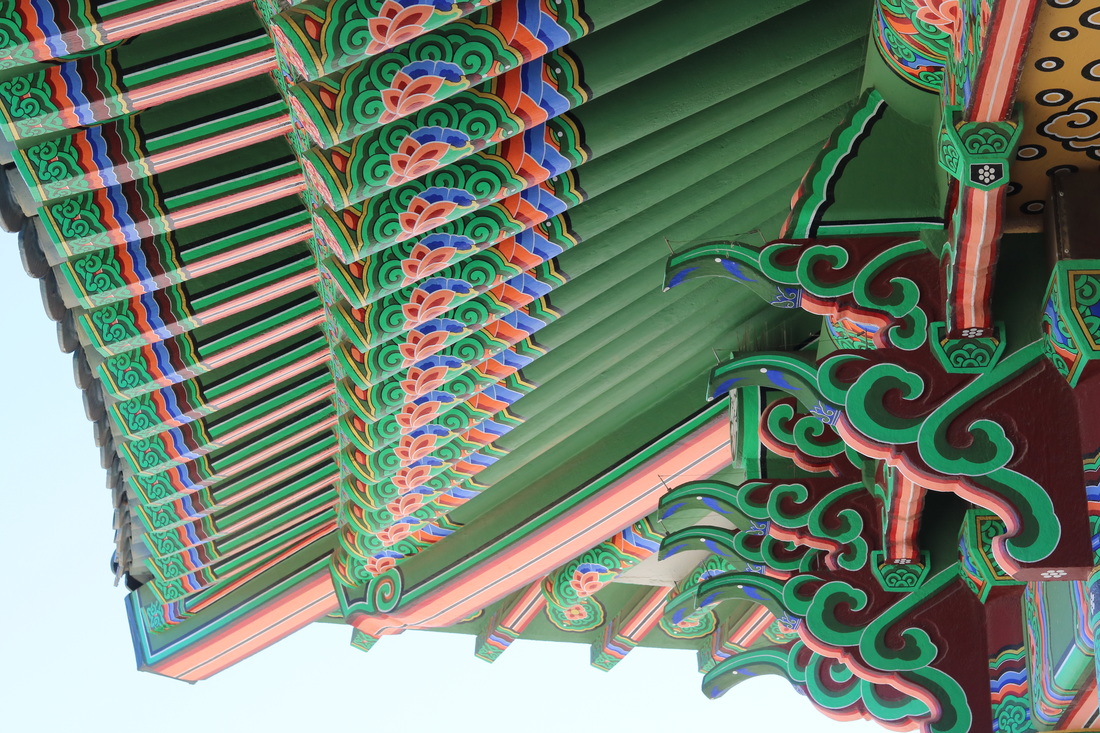
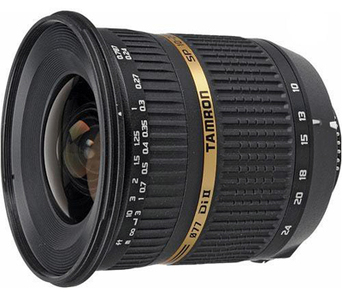
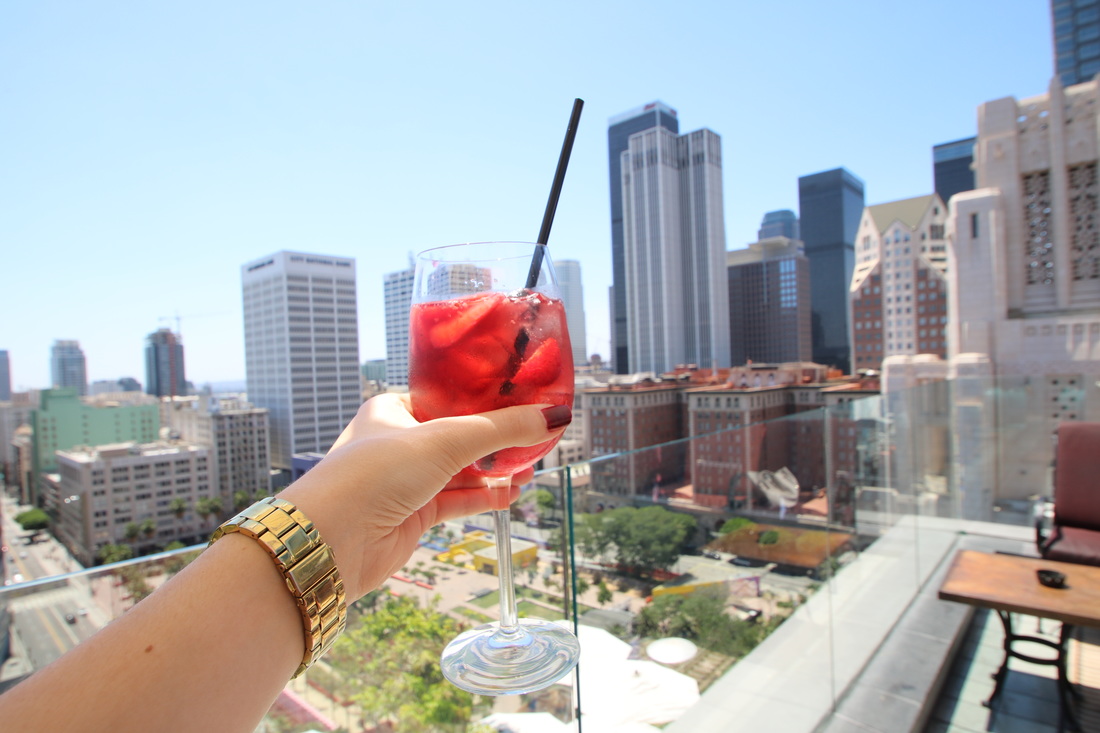
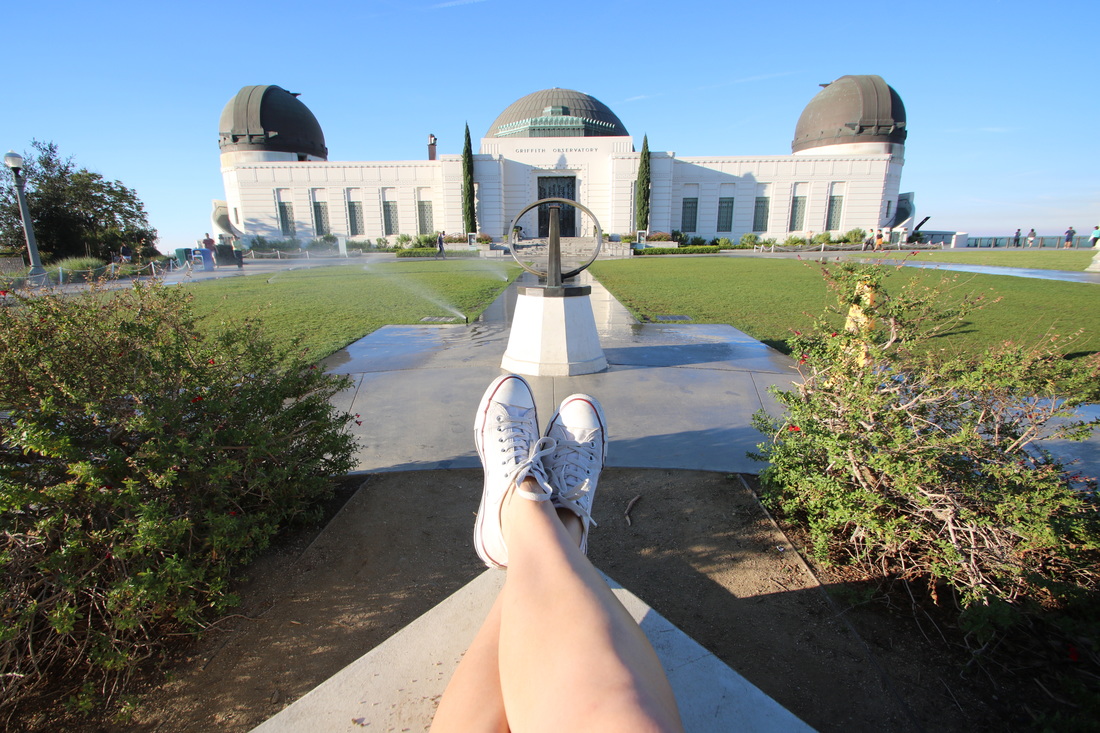
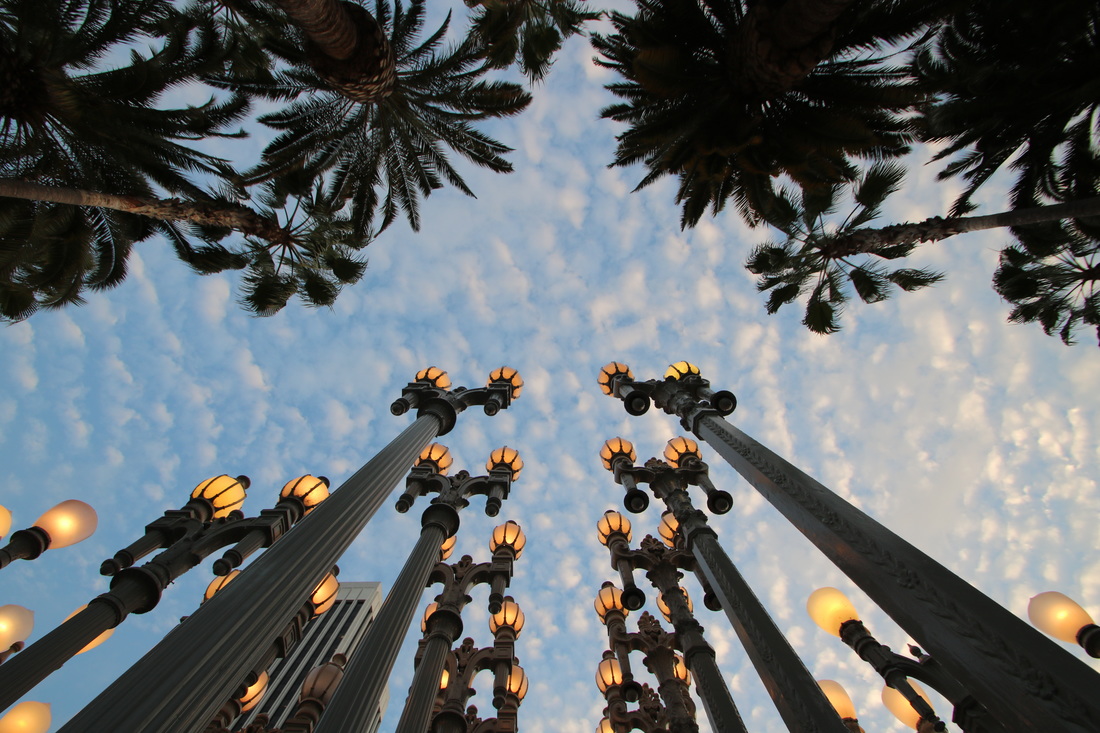
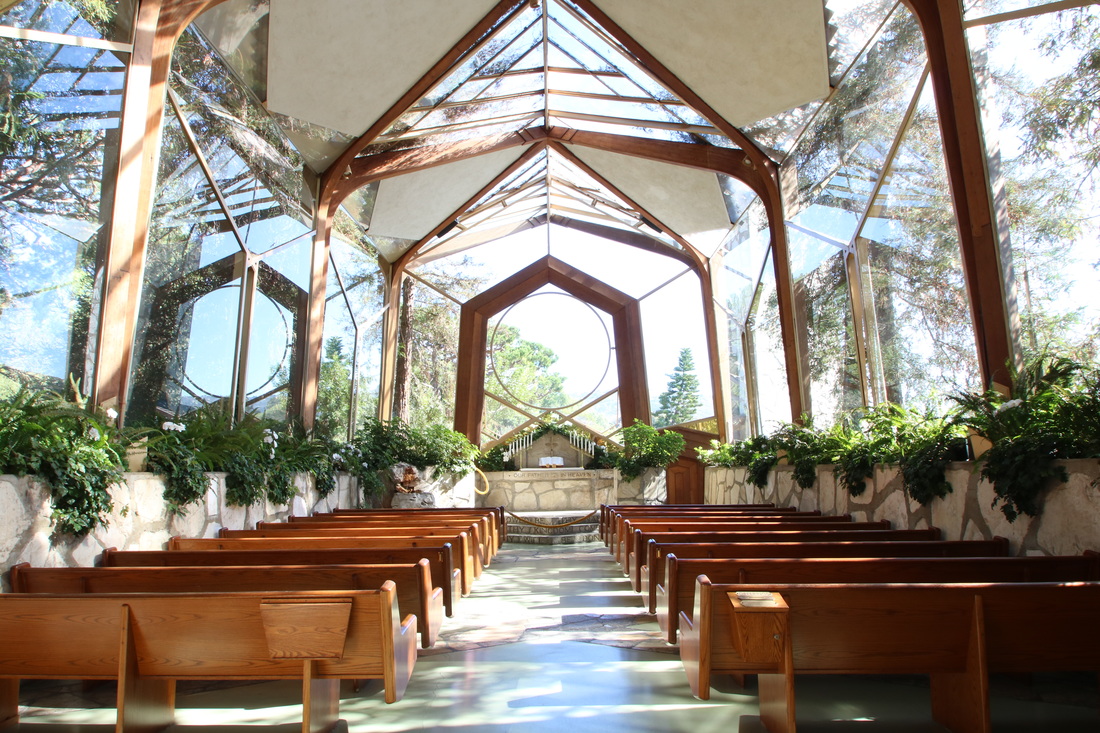
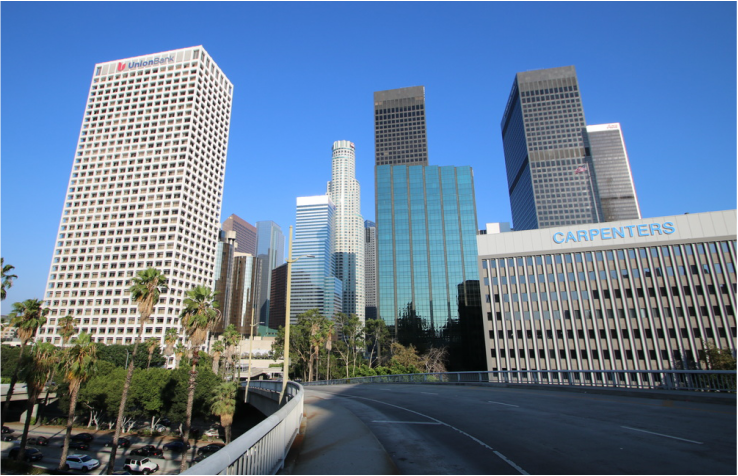
Examples of pictures taken with this lens: *This is my most favorite lens that I love more than just about anything I own!* Cost: About $500 on Amazon When to Use: You can pretty much use this lens for most shots you'll want to capture, but this lens is particularly outstanding for wide angle shots. These could include interiors of beautiful buildings, city scapes, skylines, gorgeous landscapes - or really any pictures where you want to get A LOT in one frame. I bring this lens with me more frequently than any other lens that I own, and some of my favorite shots are the ones captured with this lens. In particular, you should use this lens for:
Examples of pictures taken with this lens:
6 Comments
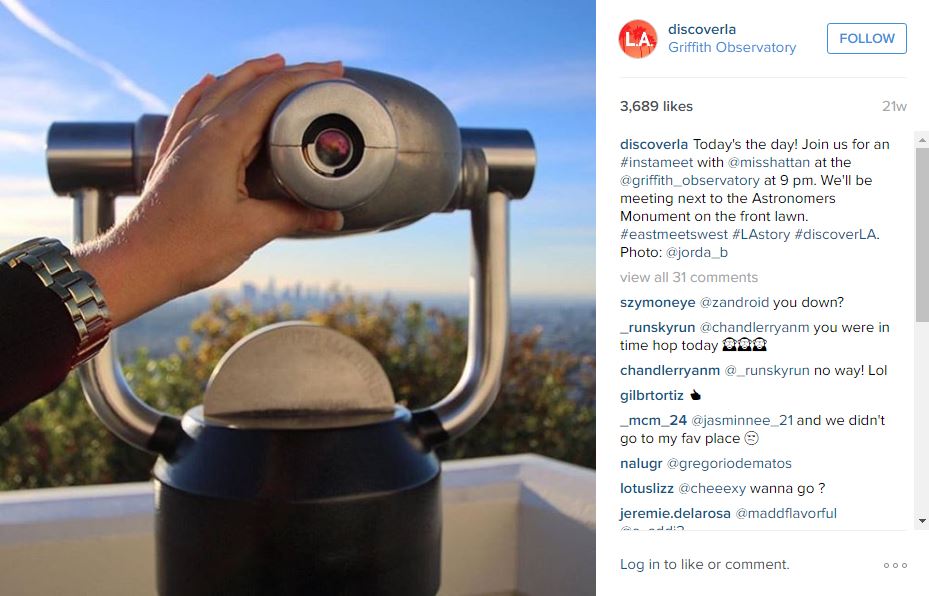
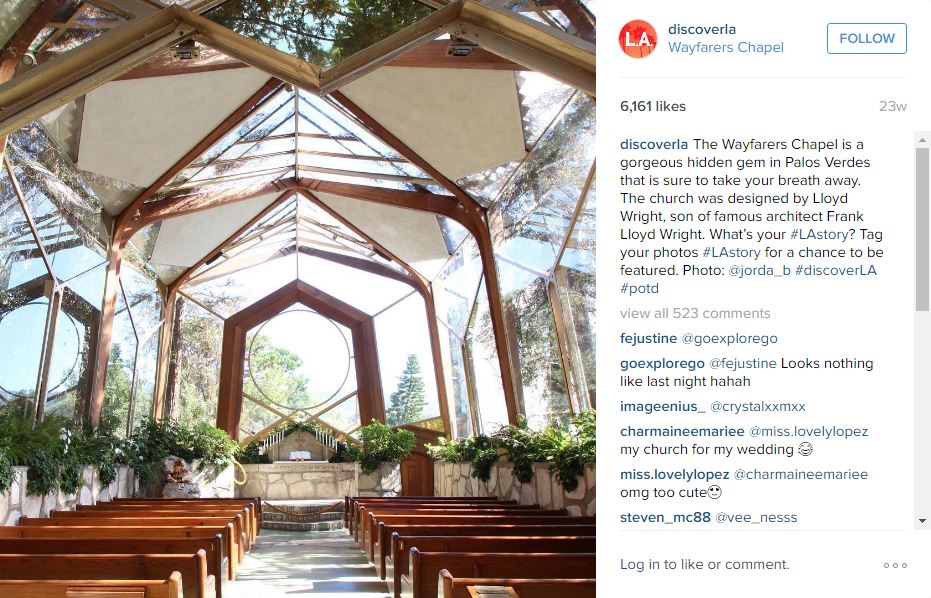
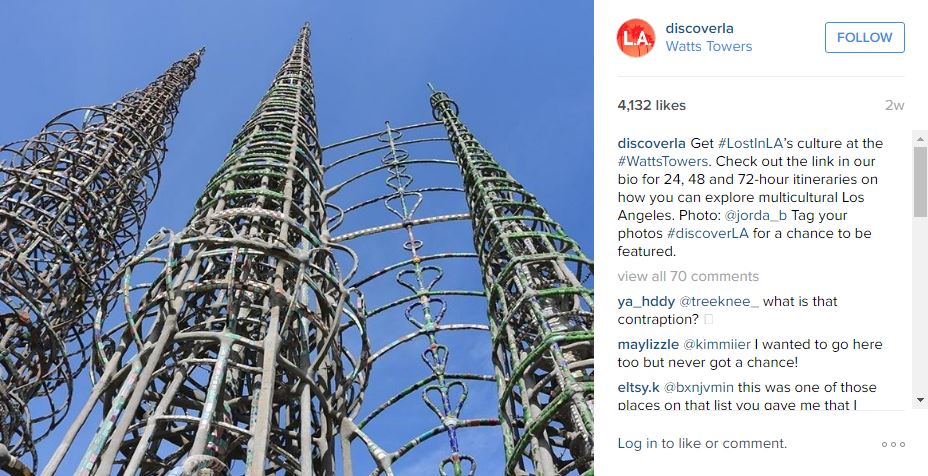
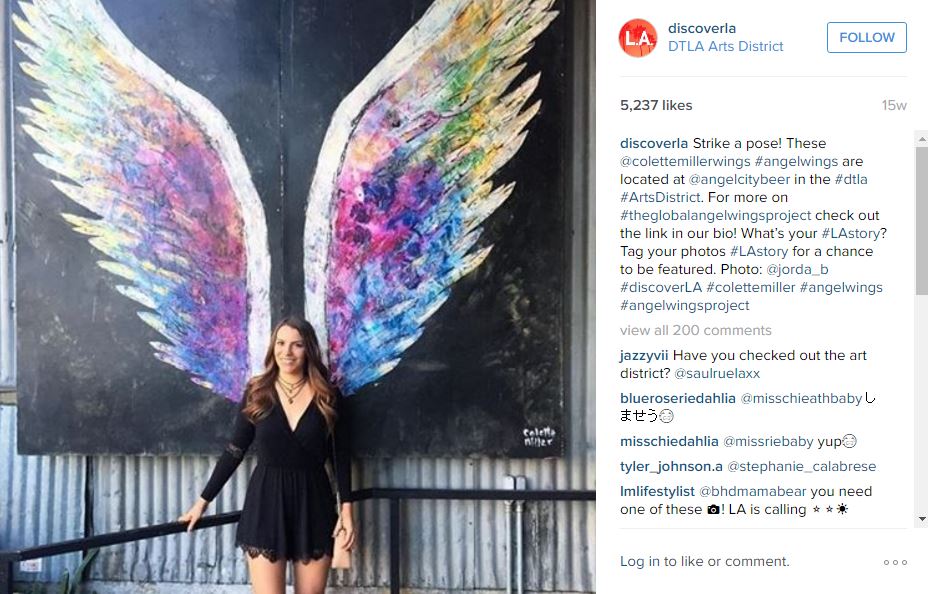
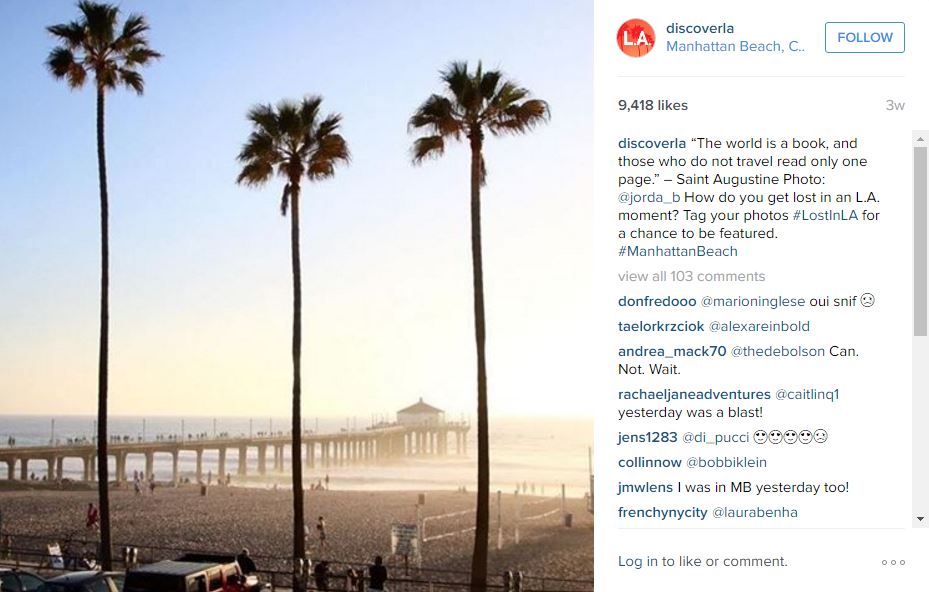
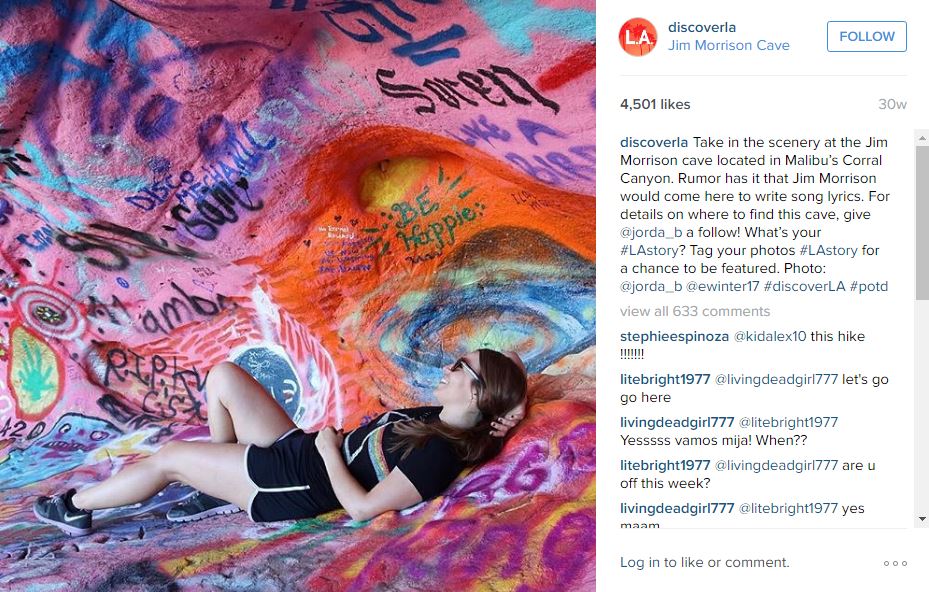
Hashtags. We’ve all seen ‘em. We’ve all used ‘em. But we’ve probably also all been confused – or annoyed – by them at one point or another. In my first “New Girl Thoughts” blog post today, I’ll be deconstructing the hashtag, its purpose, and the advantage of its use on Instagram (the only social media platform I utilize and focus on for my blog). From the history, the meaning, how I prefer to use hashtags, and how you can use hashtags to increase your brand or blog’s visibility in the big wide world of social media, I hope you find this somewhat helpful. Even if that only means an increased understanding and fewer feelings of annoyance/frustrating/what the heck are you doing?! when scrolling aimlessly through your Instagram feed. :) A (Very) Brief History of the Hashtag According to Google: “On August 23, 2007, the Twitter hashtag was born. Invented by Chris Messina (then with the consulting firm Citizen Agency, now an open web advocate for Google), the first tweet with a hashtag read as follows: “how do you feel about using # (pound) for groups.” So there’s that. So, why use hashtags? “Why do you use so many hash tags in your Instagram posts?” one of my girlfriends curiously asked me over breakfast and iced lattes one morning a few months ago. “Ummmm… To increase engagement?” was my answer at the time, and for some reason it was difficult for me to explain why exactly engagement matters for myself and other bloggers. Before I started using my Instagram account solely for the purpose of my blog, I used it for my personal life and would use hashtags as a funny/witty way to end a photo caption, or to replace the caption entirely. When I started sharing more pictures of my Los Angeles adventures about a year ago, I simultaneously began to follow more and more photographers and bloggers on Instagram. I quickly noticed that some of these individuals used A LOT of hashtags on each of their pictures. I was sort of confused at first, but over time I realized just why in the heck so many people were using them: to increase visibility and engagement. Engagement, what? So, what did I mean when I answered with “engagement” to my girlfriend? Basically, adding hashtags to your Instagram posts is an easy and effective way to share your work with a larger audience in a variety of ways: enabling others to find your post based on an easily searchable key word (whatever the hashtag may be) AND to give permission to other Instagram pages (usually those with a much larger following than your own) to repost your picture, which IN TURN attracts new followers/blog readers/content engagers to your own page. But, knowing what hashtags to use for your pictures can be tricky. For the purpose of this post, I am going to share exactly why I use a few specific hashtags in each of my Instagram posts. #LostinLA, #VisitCalifornia, #ABC7Eyewitness …are some of my favorite hashtags. Why? Because using #LostinLA gives The L.A. Tourism Board @DiscoverLA permission to repost (previously you needed to tag #LAStory), #VisitCalifornia gives California’s Visitors Bureau @VisitCalifornia pemission, and #ABC7Eyewitness gives LA’s most popular news station @ABC7LA permission. These pages have anywhere from 80,000-200,000 Instagram followers. If one of these pages reposts one of my images, suddenly the content I have created AND my Instagram handle @jorda_b is directly in front of THOUSANDS of people who already have (some level of) interest in the type of content I am sharing on Instagram. I first realized this phenomenon when I started following the LA Tourism Board @DiscoverLA for new L.A. adventure ideas. One day while scrolling through my Instagram feed, I came across one of @DiscoverLA’s photos and read this at the end of the captions: “Tag your pictures with #LAStory to be featured!” So, obviously, I did. I began hashtagging all of my adventure pictures with #LAstory. Fast forward a few months later and @DiscoverLA began to repost some of my pictures. I noticed a spike in all-around engagement (comments, new followers, etc.) after each and every repost from them. I have now collaborated with @DiscoverLA on multiple content projects and it’s ALL because they found my page through their hashtag. #WOO! See some of the content below that @DiscoverLA has shared of mine, all because of a hashtag: So, does this “hashtagging” thing really work?
Yes! On the day that @DiscoverLA shared my Jim Morrison Cave picture (the pink cave picture above) I gained over 500 NEW FOLLOWERS in less than 24 hours. This was when I realized the power of hashtags on social media and the increased engagement it can bring to your (very hard, creative, innovative, unique, special!) work. I also use hashtags in hopes that a big brand may “like” or “comment” on my picture and in turn, their (sometimes hundreds of thousands, even millions!) of followers watch their activity and be directed to my page and the content I am sharing. Important sidenote: I would like to mention, though, that while ENGAGEMENT is ultimately how you can begin to monetize your blog/secure sponsorships/etc., the quantity of your followers is simply not the important thing about your work (!!!). As much as it makes me excited to see other Instagram pages sharing my work and to see my followers increase (about 5,500 new followers in the past year), I try to base the success of my blog more on the feedback I receive on Instagram/blog (questions about certain L.A. locations, comments that I’ve inspired a reader to explore our city more, kind notes about the quality of my work, etc.) , and the FEELINGS I get from sharing my creative/artistic/unique soul with the world. What good are the numbers if you don’t FEEL connected to your work? Organizing Your Brand It’s important to mention that you can also use hashtags to organize your content and categorize your posts based on the type of photo you are sharing. For example, the hashtag #NewGirlsGuidetoLA currently has over 500 pictures on Instagram. This is a great way for me to review all of the work I’ve created and shared, and to see if anyone else is using my hashtag on their LA adventure posts. Pretty cool if ya ask me! You could create one or multiple hashtags for your overall brand/blog, your travels, your food posts, your fashion posts, etc. It’s up to you to decide how to best use hashtags to both promote your brand or blog and to share your talents with the world wide web. Where do I post hashtags? You can use hashtags within your picture caption (at the end makes the most sense) or post a comment underneath the picture with all of your hashtags, which is what I choose to do. I choose to do this so that it doesn’t crowd the caption (I typically write long, detailed captions – it’s how my brain works and processes information!) and so that the comment with the hashtags disappears from the scrolling-view of the photo once a few people comment underneath the picture. I’d recommend creating a note in your phone and listing all of the different sets of hashtags you plan to use for each post (food, travel, fashion, etc.) so you can easily copy/paste the appropriate hashtags each time you post a picture. Ok, so tell me what to do to get started. Start by doing your homework! Research Instagram pages you love to follow that share similar content to yours. In their bio’s they will usually include verbiage such as, “Use #insertcompanyslogan to be featured on our page!” or something along those lines. If you are a fashion blogger, you may start by hashtagging #ootdwatch, which lets www.instagram.com/ootdwatch regram your work. If you are a travel blogger, you may hashtag #WeLikeToTravel, allowing https://www.instagram.com/weliketotravel/ to repost your pic. Or, if you’re a foodie, you may hashtag #EEEEEATS to give permission to www.instagram.com/infatuation to regram your work. In turn, their reposts will typically bring new followers/engagers over to your Instagram page. Try it out, be innovative and strategic, and see what happens! Things to Keep in Mind According to Instagram.com, here are some things to keep in mind:
Did I miss anything important? Did I leave out anything key that I should add about the good ol’ hashtag? Feel free to comment below or email me at [email protected]. Thanks for tuning in! Happy hashtagging! |
BLOGGING 101: TIPS & TRICKSHere you will find blog posts containing answers to some FAQ's I've been asked regarding social media marketing, blogging, photography, content creation, and more. We're all in this together, and if you have any questions regarding social media marketing or building a blog, please contact me at [email protected]. BROWSE MY MUSINGS ON:
All
|
- Home
- Start Here: Exploring Los Angeles
-
Getaway from L.A. Trips
- Banff, Canada
- Big Sur, California
- Cancun, Mexico
- Cabo San Lucas, Mexico
- Death Valley National Park
- Great Barrier Reef, Australia
- Hearst Castle
- Joshua Tree National Park, CA
- Maui, Hawaii
- New Orleans, LA
- Peru & Machu Picchu
- Portland, Oregon
- Queenstown, New Zealand
- Sacramento, CA
- San Luis Obispo, CA
- Sydney, Australia
- Temecula, CA
- Valle De Guadalupe, Mexico
- Yellowstone National Park, Wyoming
- Yosemite National Park, CA
- More
|
Follow my blog's page on Instagram for updates!
|
COPYRIGHT © 2016 Detour L.A. ALL RIGHTS RESERVED. Unauthorized use and/or duplication of the images on all pages of this website without express and written permission from this site’s author and/or owner is strictly prohibited. Excerpts and links may be used, provided that full and clear credit is given to www.DetourLA.com. Contact for details: [email protected].
- Home
- Start Here: Exploring Los Angeles
-
Getaway from L.A. Trips
- Banff, Canada
- Big Sur, California
- Cancun, Mexico
- Cabo San Lucas, Mexico
- Death Valley National Park
- Great Barrier Reef, Australia
- Hearst Castle
- Joshua Tree National Park, CA
- Maui, Hawaii
- New Orleans, LA
- Peru & Machu Picchu
- Portland, Oregon
- Queenstown, New Zealand
- Sacramento, CA
- San Luis Obispo, CA
- Sydney, Australia
- Temecula, CA
- Valle De Guadalupe, Mexico
- Yellowstone National Park, Wyoming
- Yosemite National Park, CA
- More

